Sauerkraut is salted, fermented cabbage. It originated as a way of preserving cabbage through the winter, and continues to be loved today for its delightful, pickle-like taste. Sauerkraut may be the easiest fermented vegetable to make. It has just two ingredients: cabbage and salt. It does not require specialized equipment. And if you don’t know what kraut tastes like, you should have no difficulty finding some for reference at your local grocery store. This makes sauerkraut an excellent starting point for first time fermenters.
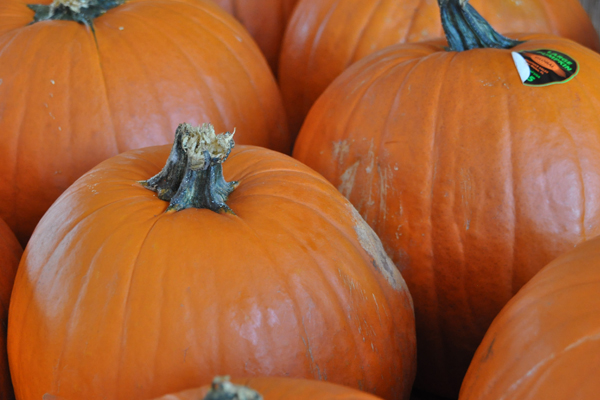 free pumpkins…just because they were slightly mishapen or blemished
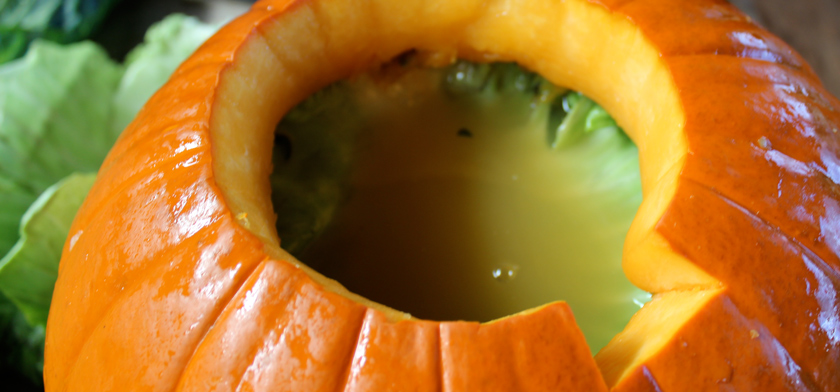
Why make sauerkraut in a pumpkin, you may ask? Just for fun! A cleaned out pumpkin will hold water and will therefore work as a brewing vessel. This week h.e.a.r.t. received about 30 pumpkins for free because Americans generally refuse to buy blemished produce. Sellers are forced to give it away or throw it away. A local fruit stand was happy to give us all their imperfect pumpkins as long as we picked them up ourselves. So, we’re using pumpkin every way we can imagine. I expect the pumpkin will ferment along the sauerkraut inside it—eventually turning the pumpkin mushy and causing it to collapse. At that point, I’ll transfer the pumpkin flavored kraut to a jar and find some use for the fermented pumpkin pulp. I have a feeling it’ll be perfect for soup or gazpacho!
Sandor Katz, in his book The Art of Fermentation, explains that there are four general steps to fermenting vegetables:
1. Chop or grate vegetables.
2. Lightly salt the chopped veggies (add more as necessary to taste), and pound or squeeze until moist; alternately, soak the veggies in a brine solution for a few hours.
3. Pack the vegetables into a jar or other vessel, tightly, so that they are forced below the liquid. Add water, if necessary.
4. Wait, taste frequently, and enjoy!
I’ll walk you through the process.
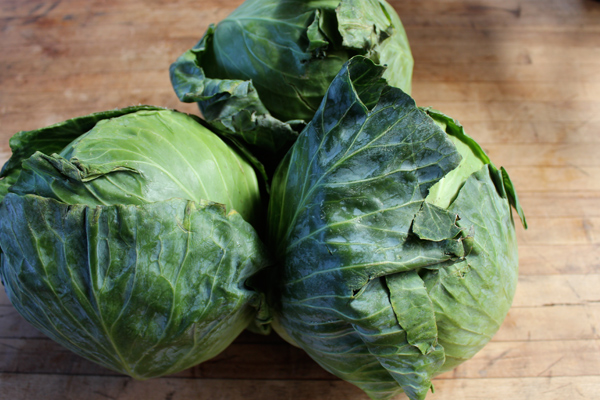 the white chalky coating is a naturally occurring yeast that causes the cabbage to ferment
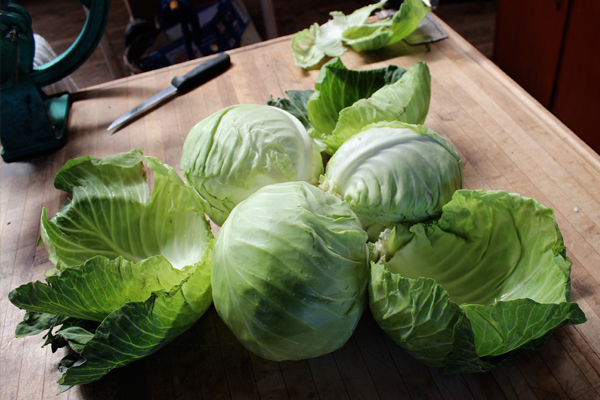
1. To get started, you’ll need some cabbages. Before you chop or wash them, look closely at the outer leaves. You may notice a fine, chalky, white coating on the surface that rubs off easily. This is yeast that naturally grows on the surface of cabbage. This yeast—along with microbes from your working surface, the air, and your hands—is what will ferment your sauerkraut. Don’t worry if you can’t see any surface yeast—it’s still there.
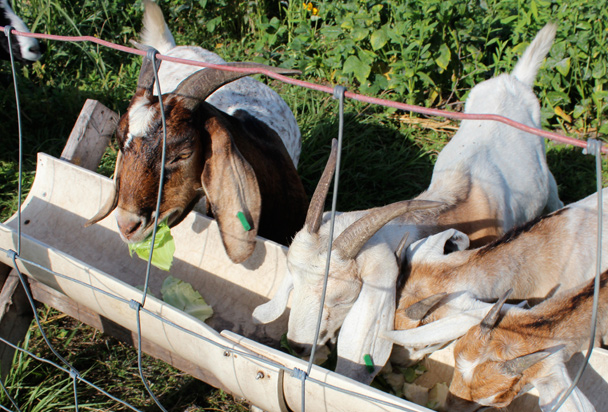
2. Remove the outer cabbage leaves. These are not typically eaten, as they are tough and bitter. Rinse the cabbage heads and the outer leaves. Set the outer leaves aside—you’ll need them later. Cut the stem out of each cabbage—this will remain tough even after fermentation. Feed stems to animals or compost them.
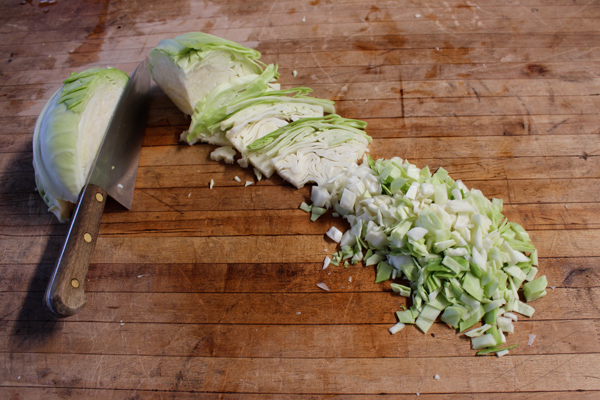 chop the cabbage any way you’d like
3. Chop the cabbage. There is no right or wrong way to do this. Some people actually leave the cabbages whole and use a lot more salt to compensate. Chop them however you like. Put the chopped cabbage in a non-metallic (or stainless steel) container.
4. Salt the chopped cabbage. Any kind of salt will do, but some prefer to use iodine-free salt because iodine can make sauerkraut juice cloudy. Opinions vary on how much salt should be used. I just go by taste. Be aware that the more salt you use, the slower your kraut will ferment.
5. Pound the cabbage with your hands or a blunt tool so it becomes juicy. Salting and pounding both draw water out of the cabbage. This step is complete when the cabbage can be completely submerged in its own juice. It took me about 30 minutes to do this with 14 pounds of cabbage. If you let the salted cabbage sit for a while, you may not have to pound it as much.
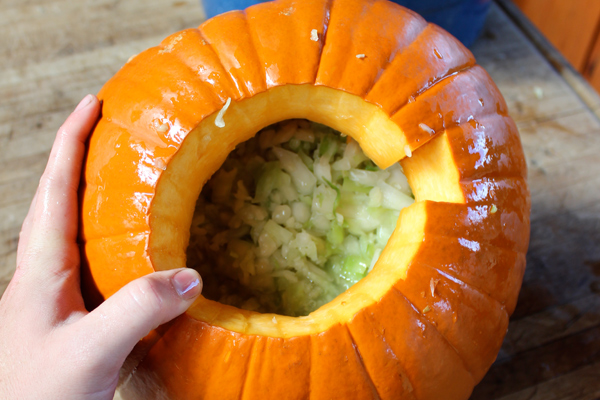 pack the pounded cabbage into the fermentation vessel
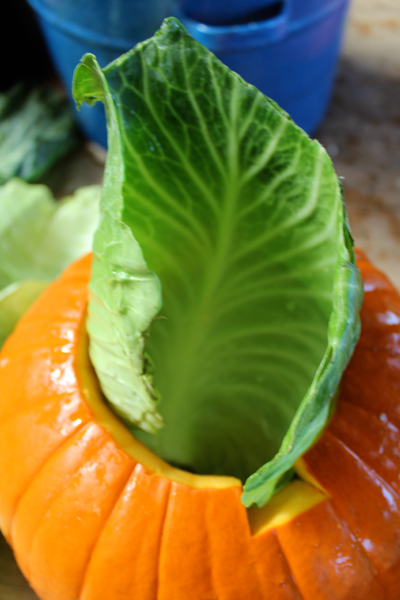 cover the surface with one of the removed outer leaves
6. Pack it into a fermentation vessel. Anything made of glass, ceramic, or plastic will do. Or use a pumpkin! Pack cabbage as tightly as possible. Then take the outer cabbage leaves you set aside and layer them on top of the chopped cabbage. Not everyone does this, but it helps compress the cabbage and forms a protective barrier so that mold will not grow on your kraut even if the juice dries up.
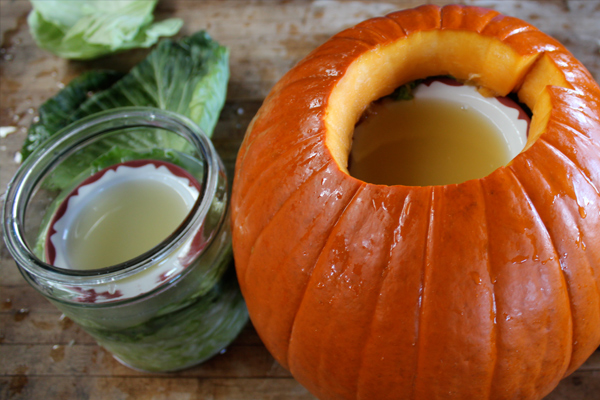 weigh down the leaf with a bowl or plate
7. There are many methods for capping the fermentation vessel. Sauerkraut spoils quickly in the presence of oxygen. Keeping it submerged in juice protects it from oxygen, and salt and the acids produced by fermentation further protect it from spoilage and contamination. You need to create an environment in which only beneficial microbes can survive. If you use a jar, put the lid on snugly, but not tight. Carbon dioxide is produced during fermentation, so you’ll need to loosen the lid occasionally to vent pressure. It is better to weigh down the kraut instead. Some people fill a plastic bag with water, tie it off, and set it on top of the kraut. This releases pressure and seepage out while keeping the kraut submerged. My preferred method is to place a plate or bowl on top of the kraut and then weigh it down with a jar or jug of water.
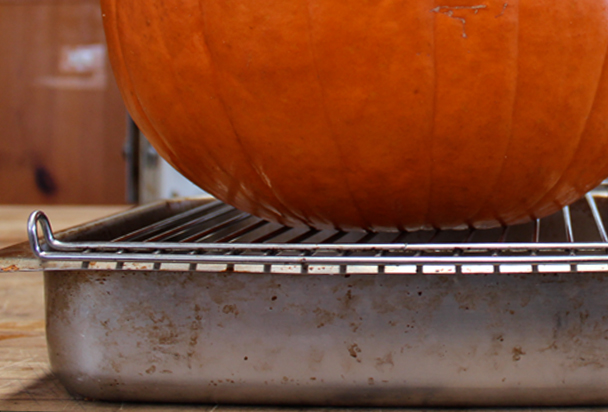 ensure that the bottom of the pumpkin stays dry during the fermentation process
8. Now it’s time to wait. Sauerkraut will ferment more slowly at lower temperatures. You can use less salt and still ferment it slowly if you keep it in a cool place. At higher temperatures you may want to use more salt. If you intend to refrigerate your kraut after it’s done fermenting, then it really doesn’t matter how fast or slow it ferments. It is possible to keep kraut in the fermentation vessel for months as you use it slowly if it is quite salty and cool.
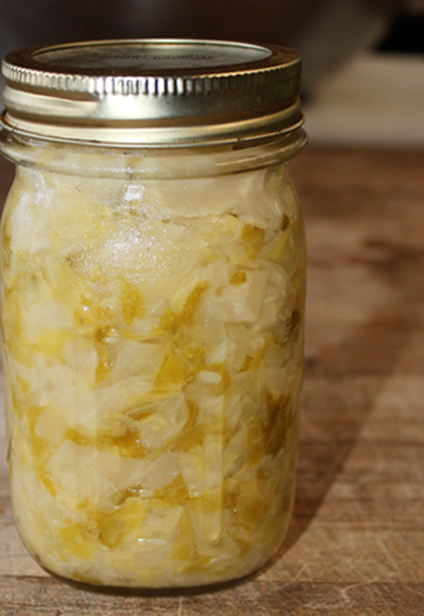
9. Taste your sauerkraut occasionally as it ferments—it is finished fermenting when you like the way it tastes. It will become softer and more sour the longer it ferments. When you like the way it tastes, refrigerate it. Refrigeration keeps the beneficial cultures alive but slows fermentation to an imperceptible pace. Some prefer to can sauerkraut for long-term preservation, but this kills the beneficial cultures.
10. Mold may grow on the surface of your sauerkraut. As long as your kraut is completely submerged in juice, the mold can be easily skimmed off the surface of the juice with no damage to the kraut. Mold can’t grow under water. If your kraut is not covered by juice and mold has grown on the kraut itself, scoop out all the kraut that is moldy or discolored. The kraut underneath should still be fine to eat. Wipe down the sides of the vessel to remove all traces of the mold and then add some water to submerge the kraut again.
11. Enjoy! Sauerkraut can be eaten raw or cooked. If you find that it is too salty or sour for your taste, rinse it with some water before eating.
Post by Andy Hillmer

